UNOFFICIAL GUIDE · Public evidence reviewed August 15, 2026 · Official patch baseline: Version 1.0 (1618) / Patch #4 (August 12, 2026)
CAMPAIGN MISSION DOSSIER · UNOFFICIAL
Iron Nest Phantom Battery — Mission 13 Walkthrough
Phantom Battery is Mission 13 of the IRON NEST: Heavy Turret Simulator campaign — the mission where something out there starts matching your Iron Nest shot for shot.
Quick Answer
You start the mission already under lethal fire with a dead engine. The loop that wins:
Restart the engines, then execute the Emergency Move the mission demands.
Rebuild your own position — the move throws away your firing origin, not just the enemy marker.
Let the three listening posts produce bearings on the enemy; destroyed enemy spotters each add 90 seconds to the Counter-Battery Timer.
The target is an armored, mobile battery: it requires armor-piercing shells, and it repositions after being hit.
Relocate → re-locate both ends of the firing line → linked AP salvo from both guns → repeat until neutralized.
Evidence: OFFICIAL patch note · IN-GAME TEXT mechanics · OBSERVED footage · REPORTED guide steps — see how the labels work.
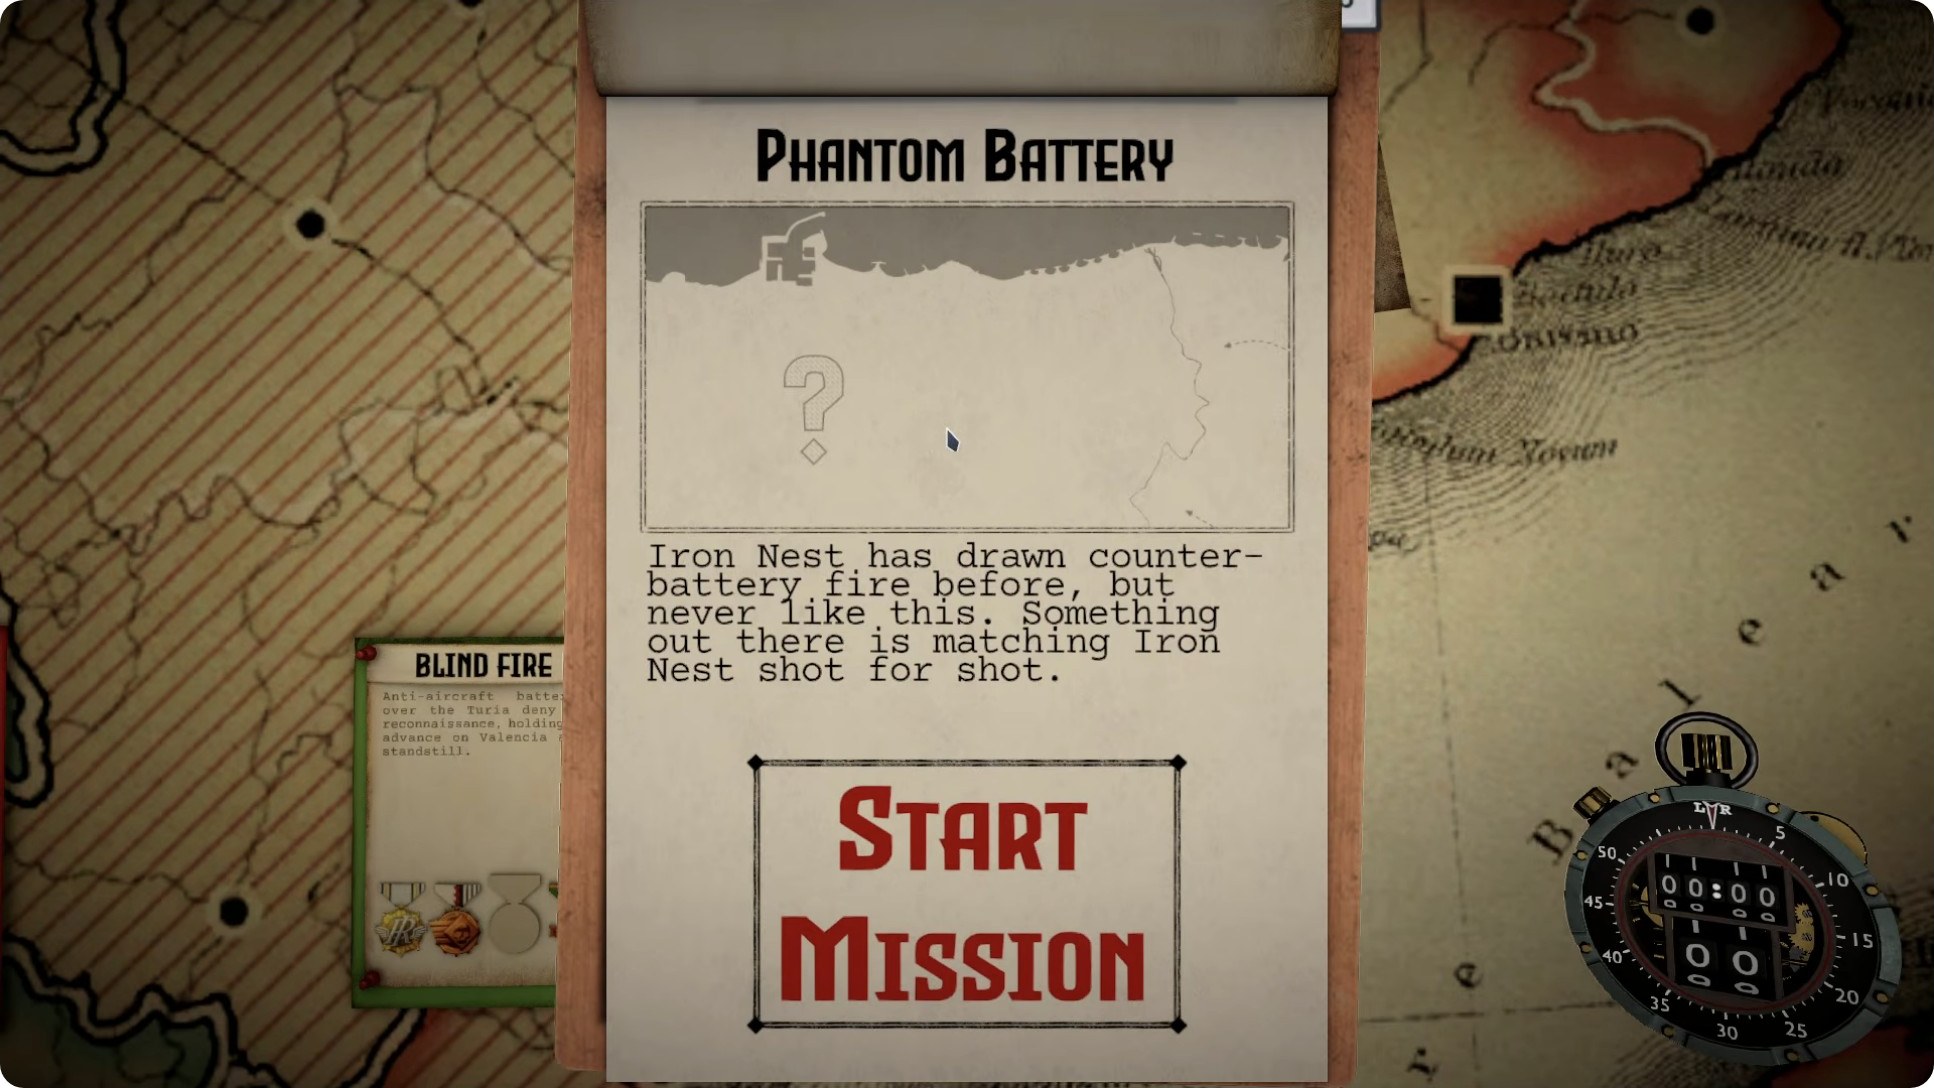
The Mission 13 briefing card, as shown at the start of the mission. Frame from a public YouTube full-run video (uploaded August 11, 2026, before Patch #4).
How to read the evidence labels
This guide is built from traceable public sources, not author gameplay testing.
How to read the evidence labels
Label
What it means on this page
OFFICIAL
A developer or official platform source directly confirms the stated fact.
IN-GAME TEXT
Wording transcribed from the mission's own briefing and comm messages by a third-party database. The wording is quotable; the database does not state which build it was captured on.
OBSERVED
Public release-version footage visibly shows the action, state, or result. Screenshots support only what is visible in the frame; videos do not display a build number.
REPORTED
A third-party guide or community source describes the step; the reviewed footage does not show the full chain.
Unless a section says otherwise, footage on this page was reviewed on August 15, 2026, and no source displays a build number. "Pre-patch" and "post-patch" below are inferences from upload dates, not verified builds.
Mission facts card
Evidence: REPORTED database values (build unknown) · OFFICIAL patch wording
Mission facts card
Field
Value
Mission number
13 (cross-confirmed by two guides and a mission database; not an official numbering)
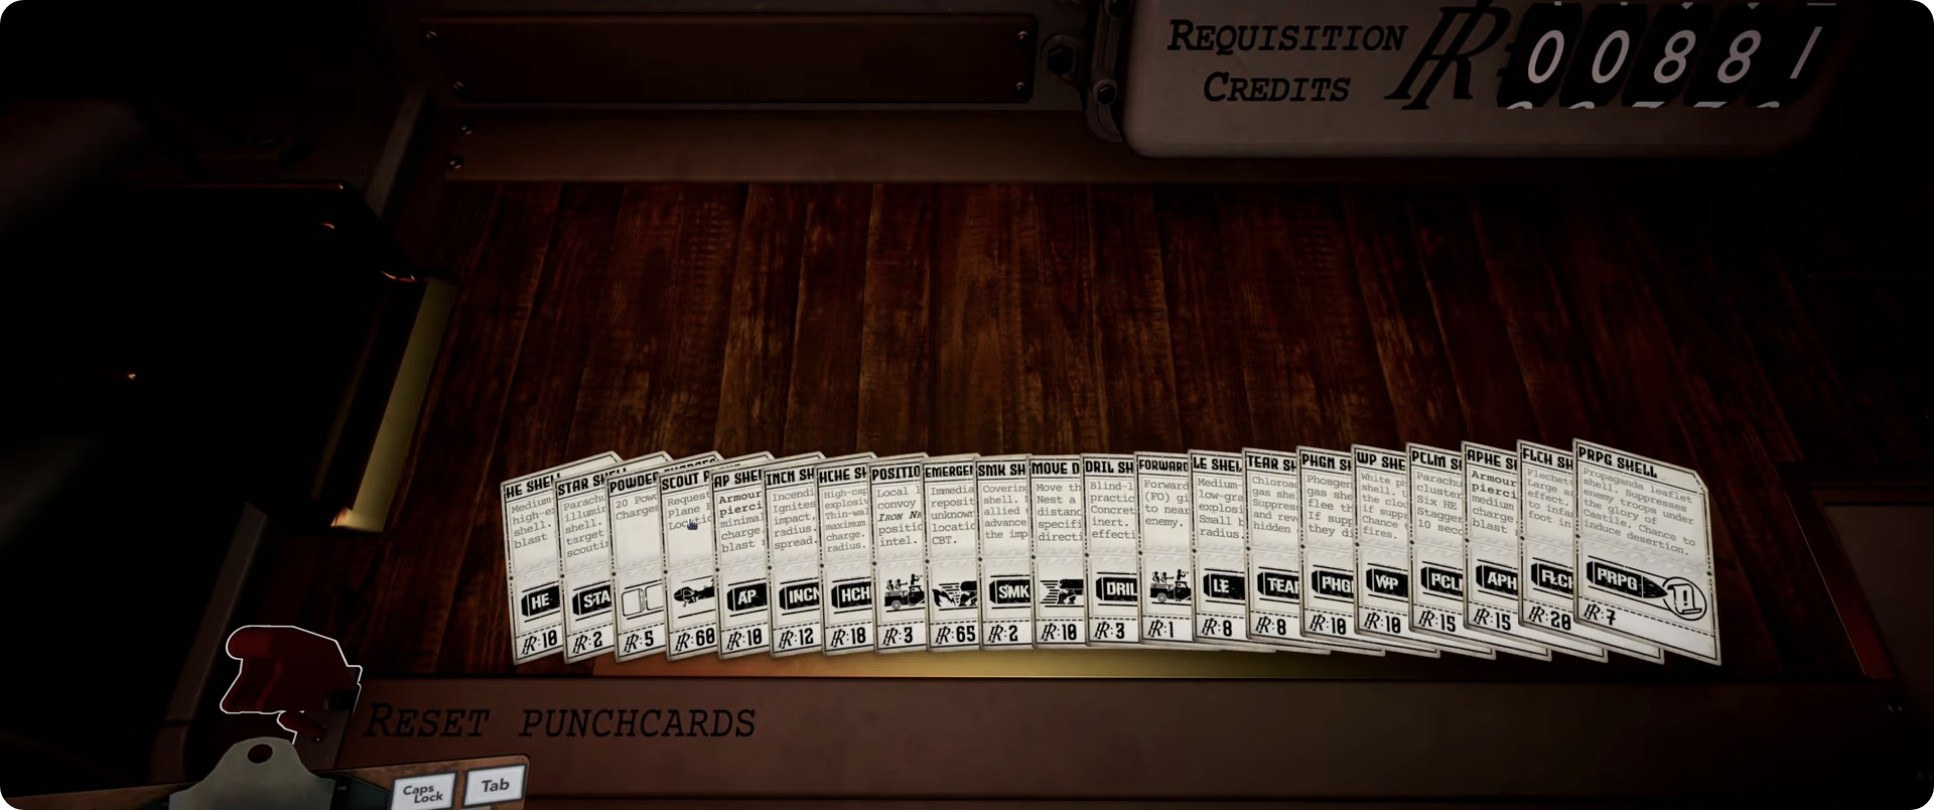
The mission's punchcard on the requisition wall. Frame from a public YouTube video (uploaded August 12, 2026; build not shown).
How to beat Phantom Battery, step by step
The route below merges the in-mission orders with one pre-patch written guide and one post-patch narrated tutorial. Where they disagree, both versions are shown.
Step 1 — Restart the engine before you move
Evidence: IN-GAME TEXT · REPORTED (two guides, different versions)
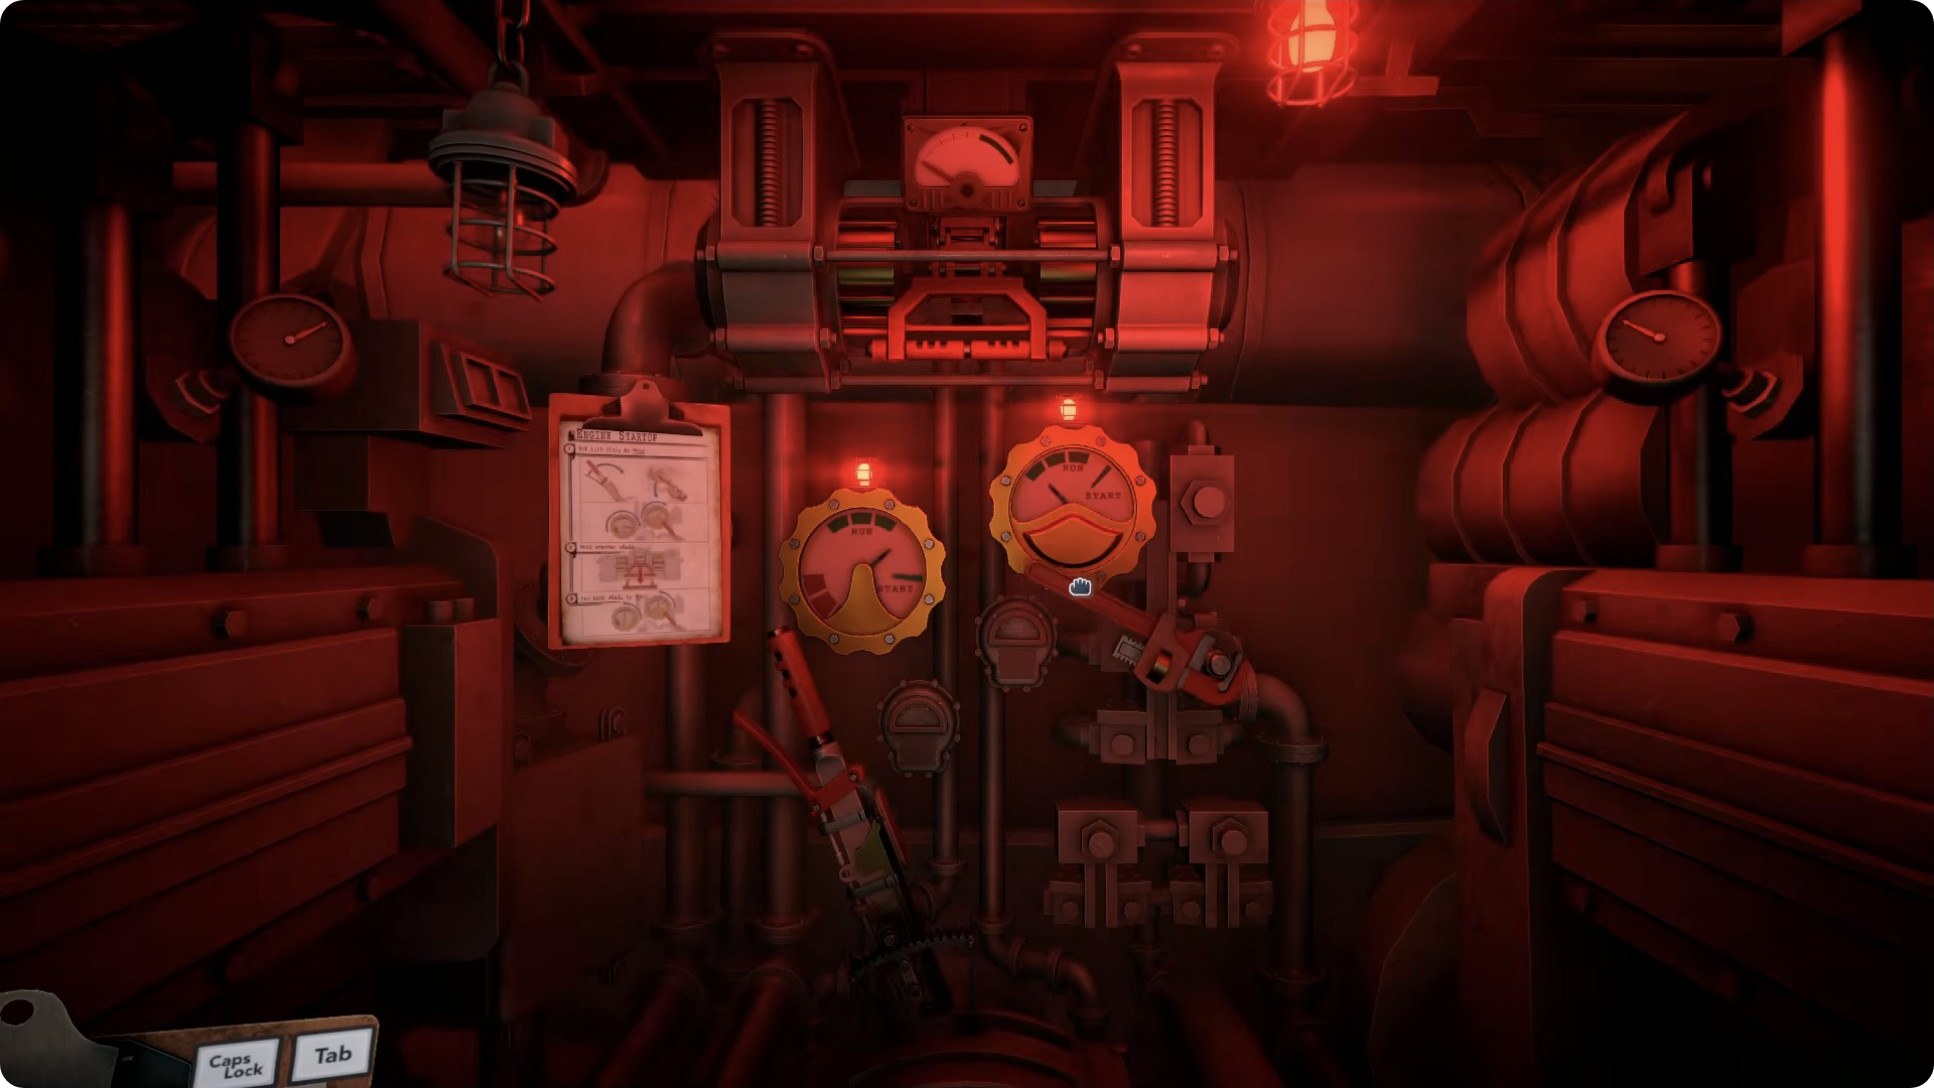
The opening salvo damages Iron Nest before you have solved anything. The mission's own comm feed is unambiguous: "You're taking lethal fire! Start the engines and reposition immediately!"
REPORTED, pre-patch guide (August 8, 2026): a first attempt that skipped a confirmed restart "ended almost immediately." The working sequence was starter → engine running → controls into RUN → then the Emergency Move. Do not stop to repair every minor system while the battery is still engaging you: engine → movement → position, everything else later.
REPORTED, post-patch tutorial (uploaded August 14, 2026): the uploader states you "don't need to restart the engine to emergency move or move at all" and calls it "probably an oversight by the developer" that will "probably get fixed." Treat the restart as the safe, instructed path; the skip is an unverified observation, and this guide does not claim Patch #4 changed this behavior.
The opening damaged state. Frame from a public YouTube full-run video (uploaded August 11, 2026, pre-Patch #4).
Step 2 — Execute the Emergency Move, then buy your tools
REPORTED, post-patch tutorial: immediately after activating the Emergency Move card, use the move-direction card without adjusting bearing or distance — "that will tell us explicitly where we are instead of needing to use observers to triangulate our location." The uploader flags this, too, as a probable oversight. Buy two armor-piercing shells per gun up front (APHE or Earthquake work), plus extra powder charges. The pre-patch guide instead buys AP only after the position is confirmed — both orders appear below as labeled strategy opinions, not rules.
Step 3 — Rebuild your own position first
Evidence: REPORTED · OBSERVED (three routes)
The relocation leaves you with at most a coarse sector — one guide's first Emergency Move landed "somewhere inside R2" (a single-run observation, not a rule). A coarse grid is not enough for a precise AP shot. Three recovery routes appear in the evidence:
REPORTED (pre-patch guide): intersect two Position Reports on your own Nest — e.g. one from about T4 8:1 at bearing ≈256°, another from N4 5:5 at bearing ≈168° (worked example; values expire the moment either side moves).
REPORTED (post-patch tutorial): the move-direction card from Step 2 states your position explicitly — no triangulation needed.
REPORTED (community, Discord): two forward observers placed on your own grid square as a self-location variant.
Step 4 — Mark the three listening posts, then let them speak
Evidence: IN-GAME TEXT · REPORTED
The mission deploys three friendly listening posts — the comm feed announces: "We have deployed three listening posts in your sector." Reports from them come in three forms: an exact bearing, a distance, or a coarse direction. Practical tips from the guides (REPORTED, strategy advice): mark all three posts on the map before interpreting reports; listening-post bearings start at the listening post named in the report, not at your Nest; and a clean pair of agreeing reports is enough to commit.
OBSERVED, post-patch tutorial: an audio report plus a visual report beats two visual reports from the same grid square — reports carry a possible ±5° deviation, which two nearly-parallel visual lines can amplify into a large miss at shallow angles.
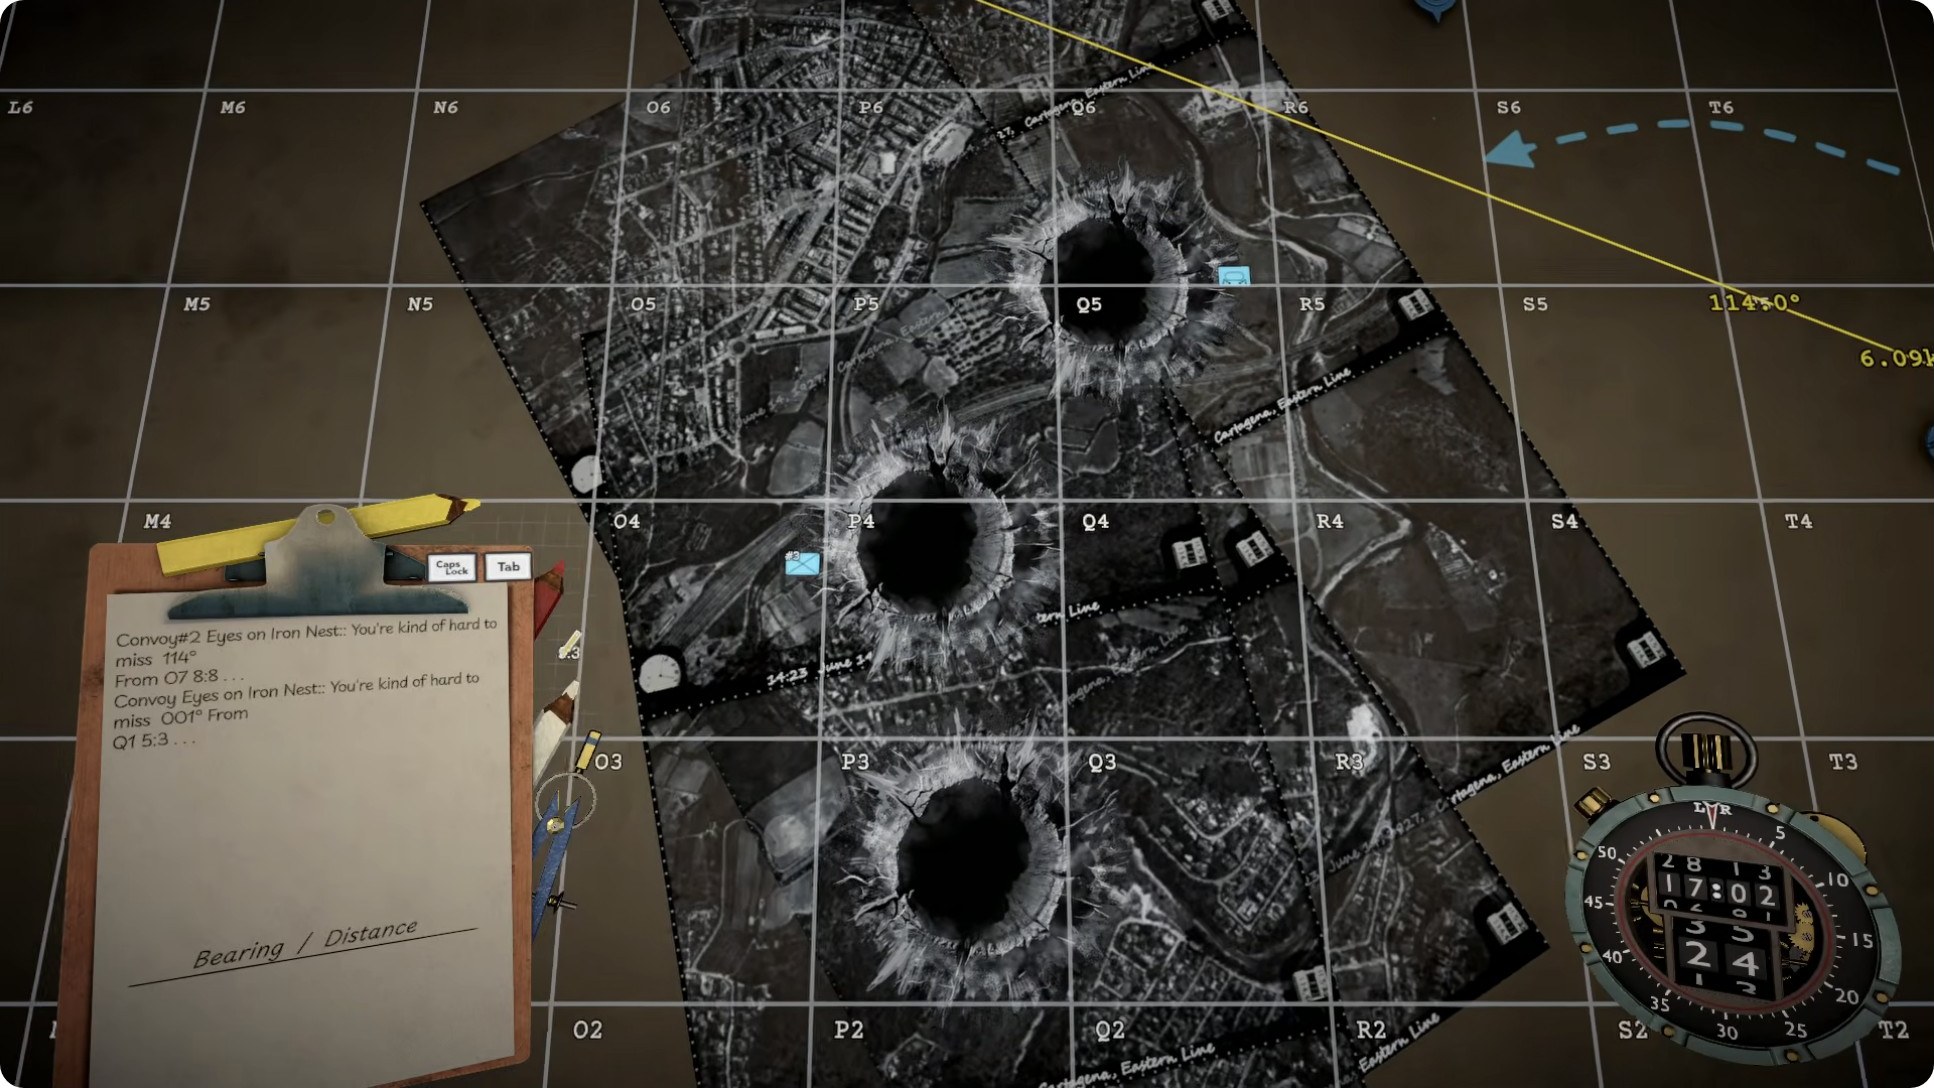
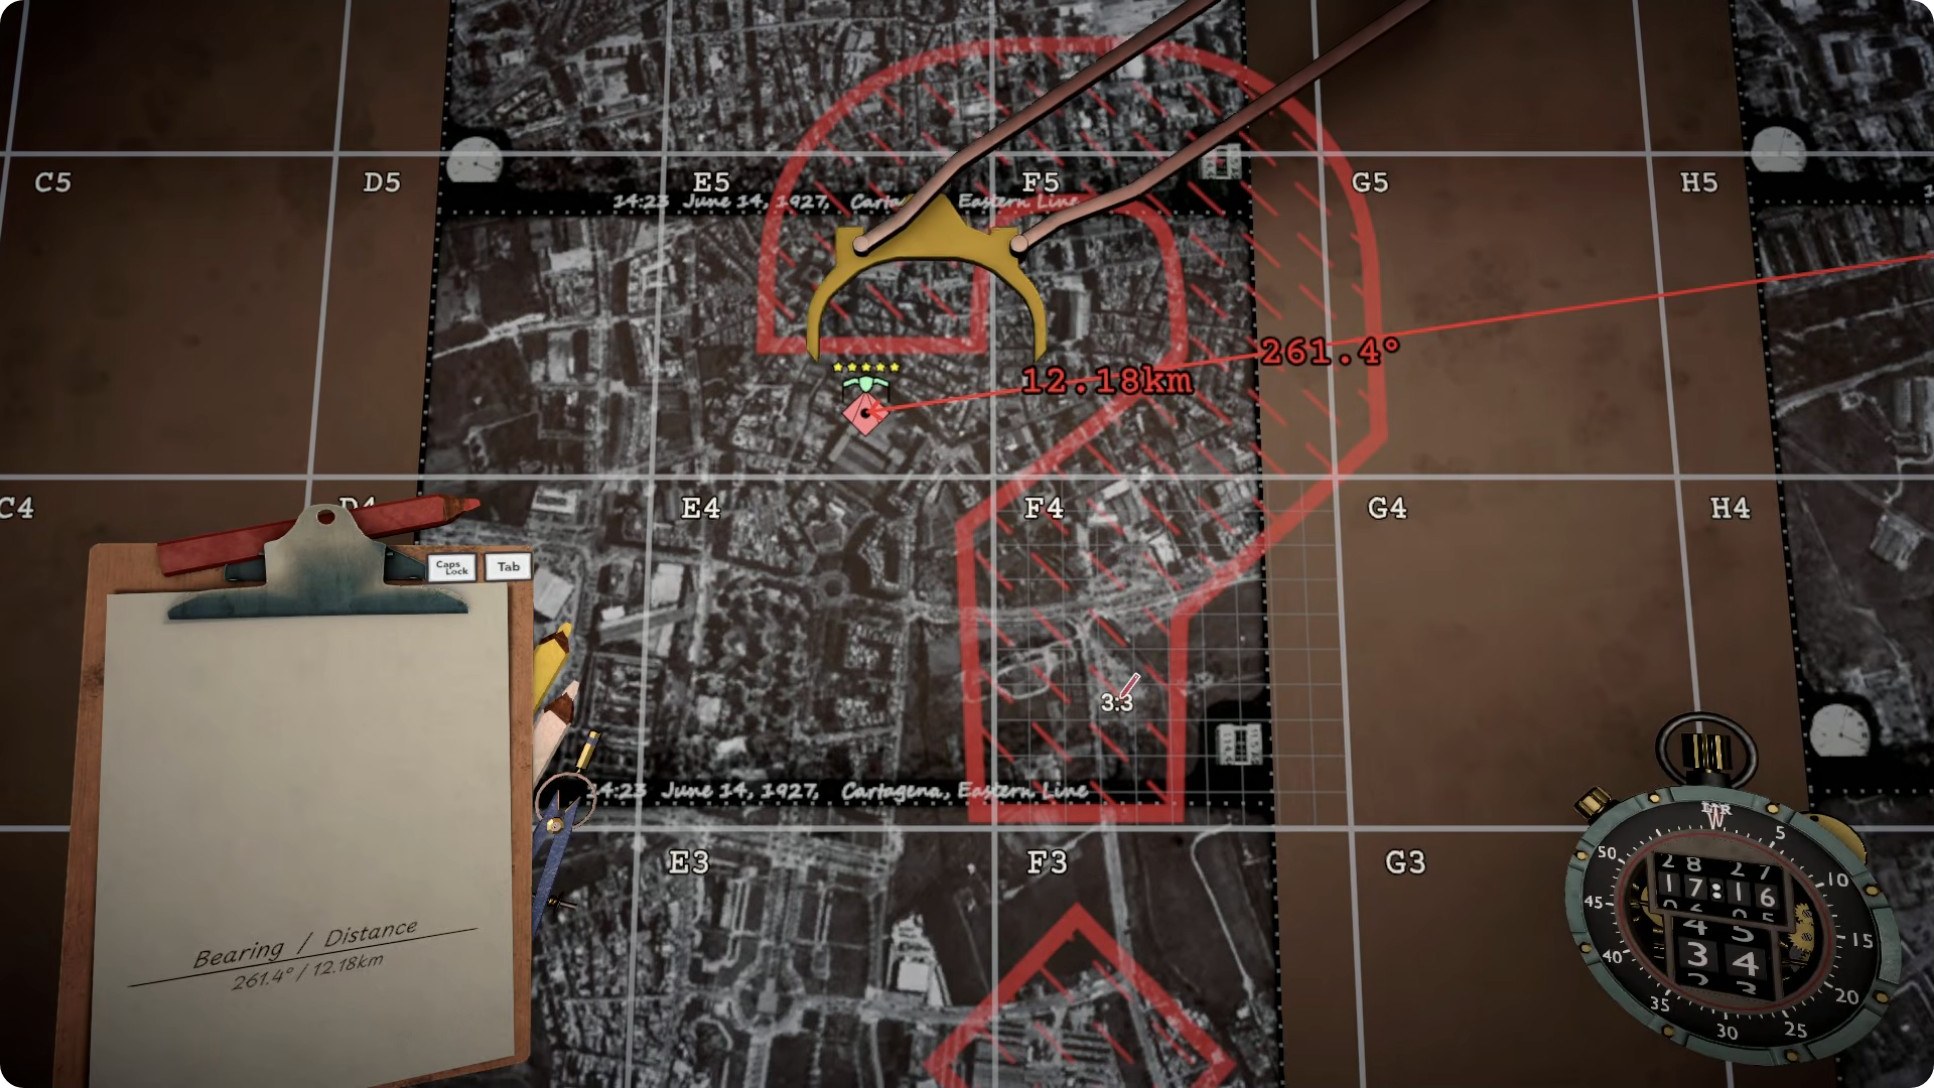
The tactical map mid-mission: grid coordinates, spotting board, and the battery's fire points. Frame from a public YouTube full-run video (uploaded August 11, 2026, pre-Patch #4).
Step 5 — Build the solution and fire a linked salvo
With both positions known, drop bearing and distance to the battery, compute the solution (in-game calculator or by hand), load at least four AP shells — the battery can sit 15 or more kilometers from your start (REPORTED, single video) — then link the guns, wait for elevation to set, arm both safeties, and fire both guns together. OBSERVED in both community footage and the post-patch tutorial: a linked double shot is the standard killing blow here.
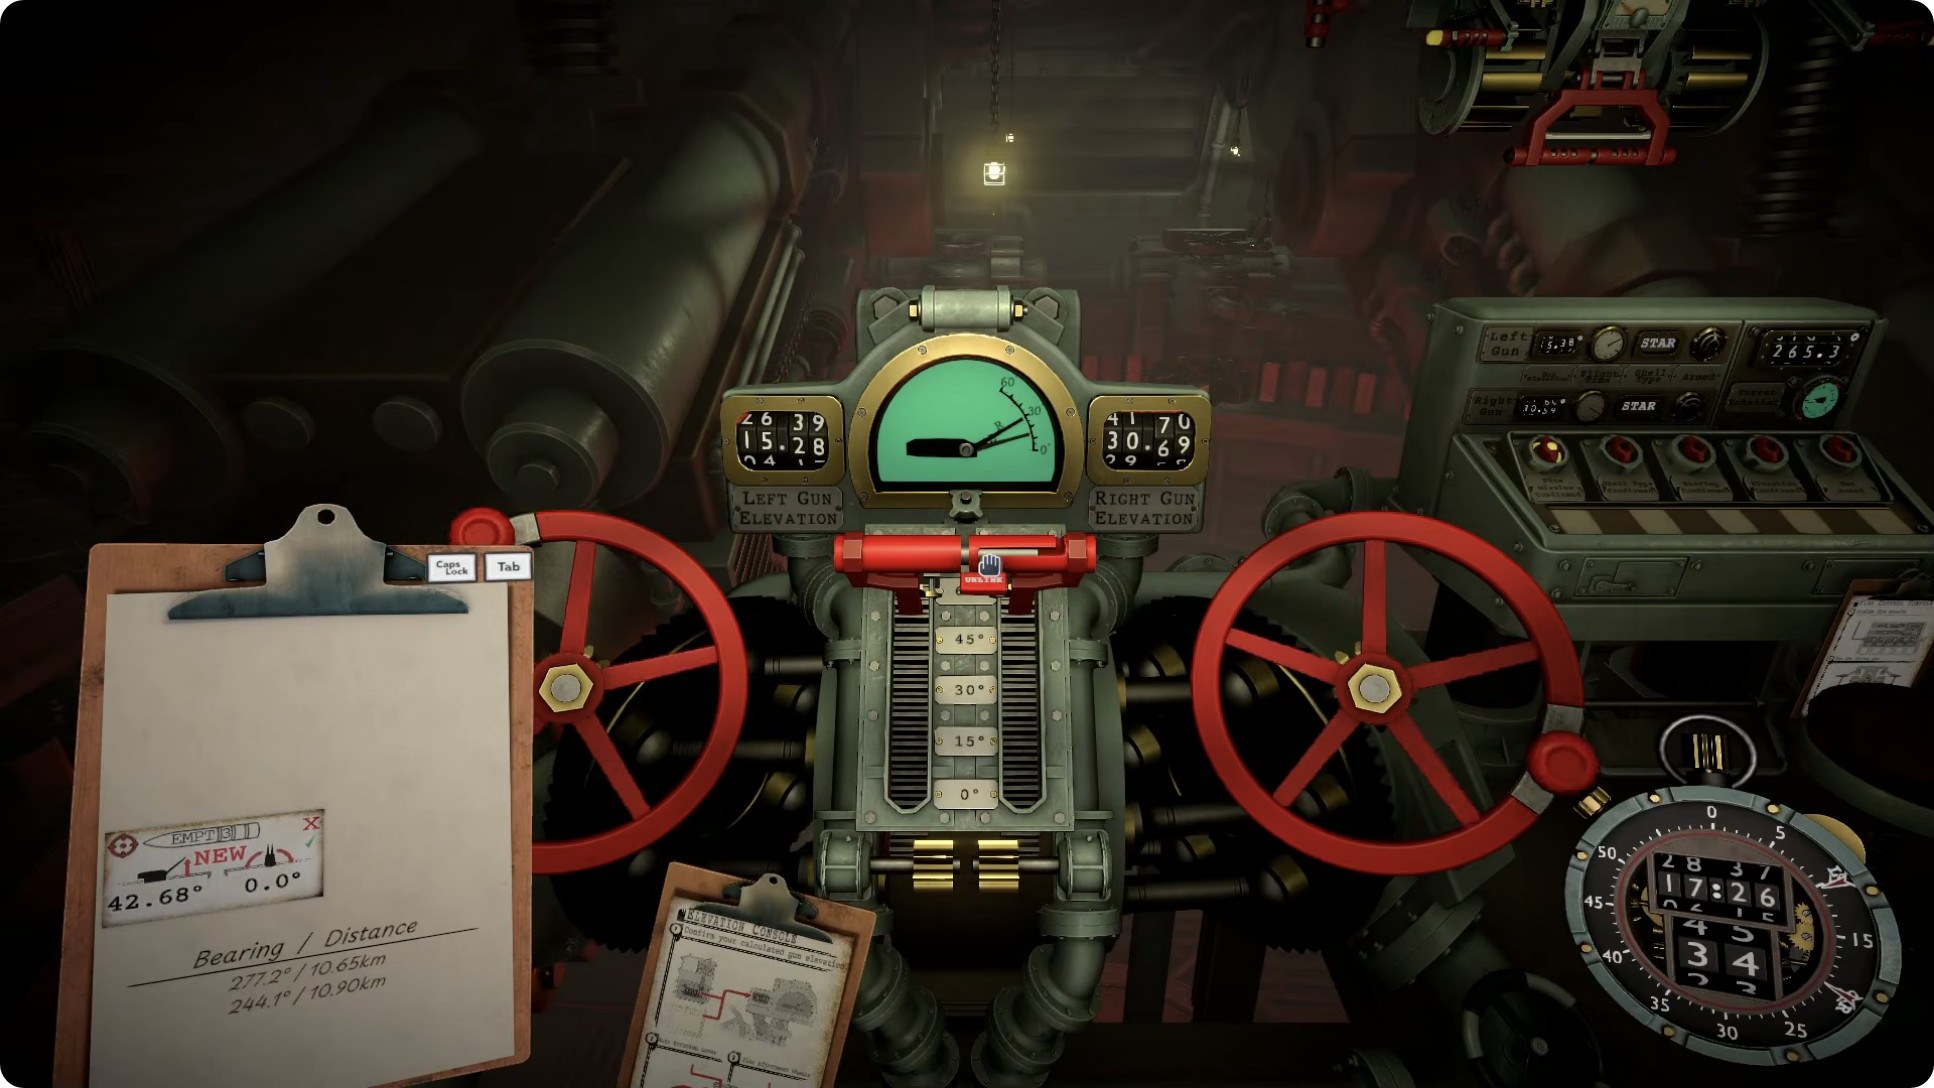
The gunnery station with per-gun elevation wheels — the two guns are laid and fired as a linked pair. Frame from a public YouTube full-run video (uploaded August 11, 2026, pre-Patch #4).
Step 6 — Manage the Counter-Battery Timer with spotters
Evidence: IN-GAME TEXT · REPORTED
The mission orders state it in so many words: "NOTE: Each of the Enemy Spotters destroyed adds 90s to the Counter Battery Timer." Spotters are a time reserve, not a to-do list: the pre-patch guide shoots one when the battery has repositioned, when a move forced a full position rebuild, or when the timer is too short for another complete AP solution — and explicitly not when the battery is already well located. When the timer cannot cover a verified shot, move first: discard the firing line, keep the last battery marker only as history, rebuild, and solve again.
(For how the Counter-Battery Timer works in general, see the Counter-Battery mission guide — that page owns the mechanic.)
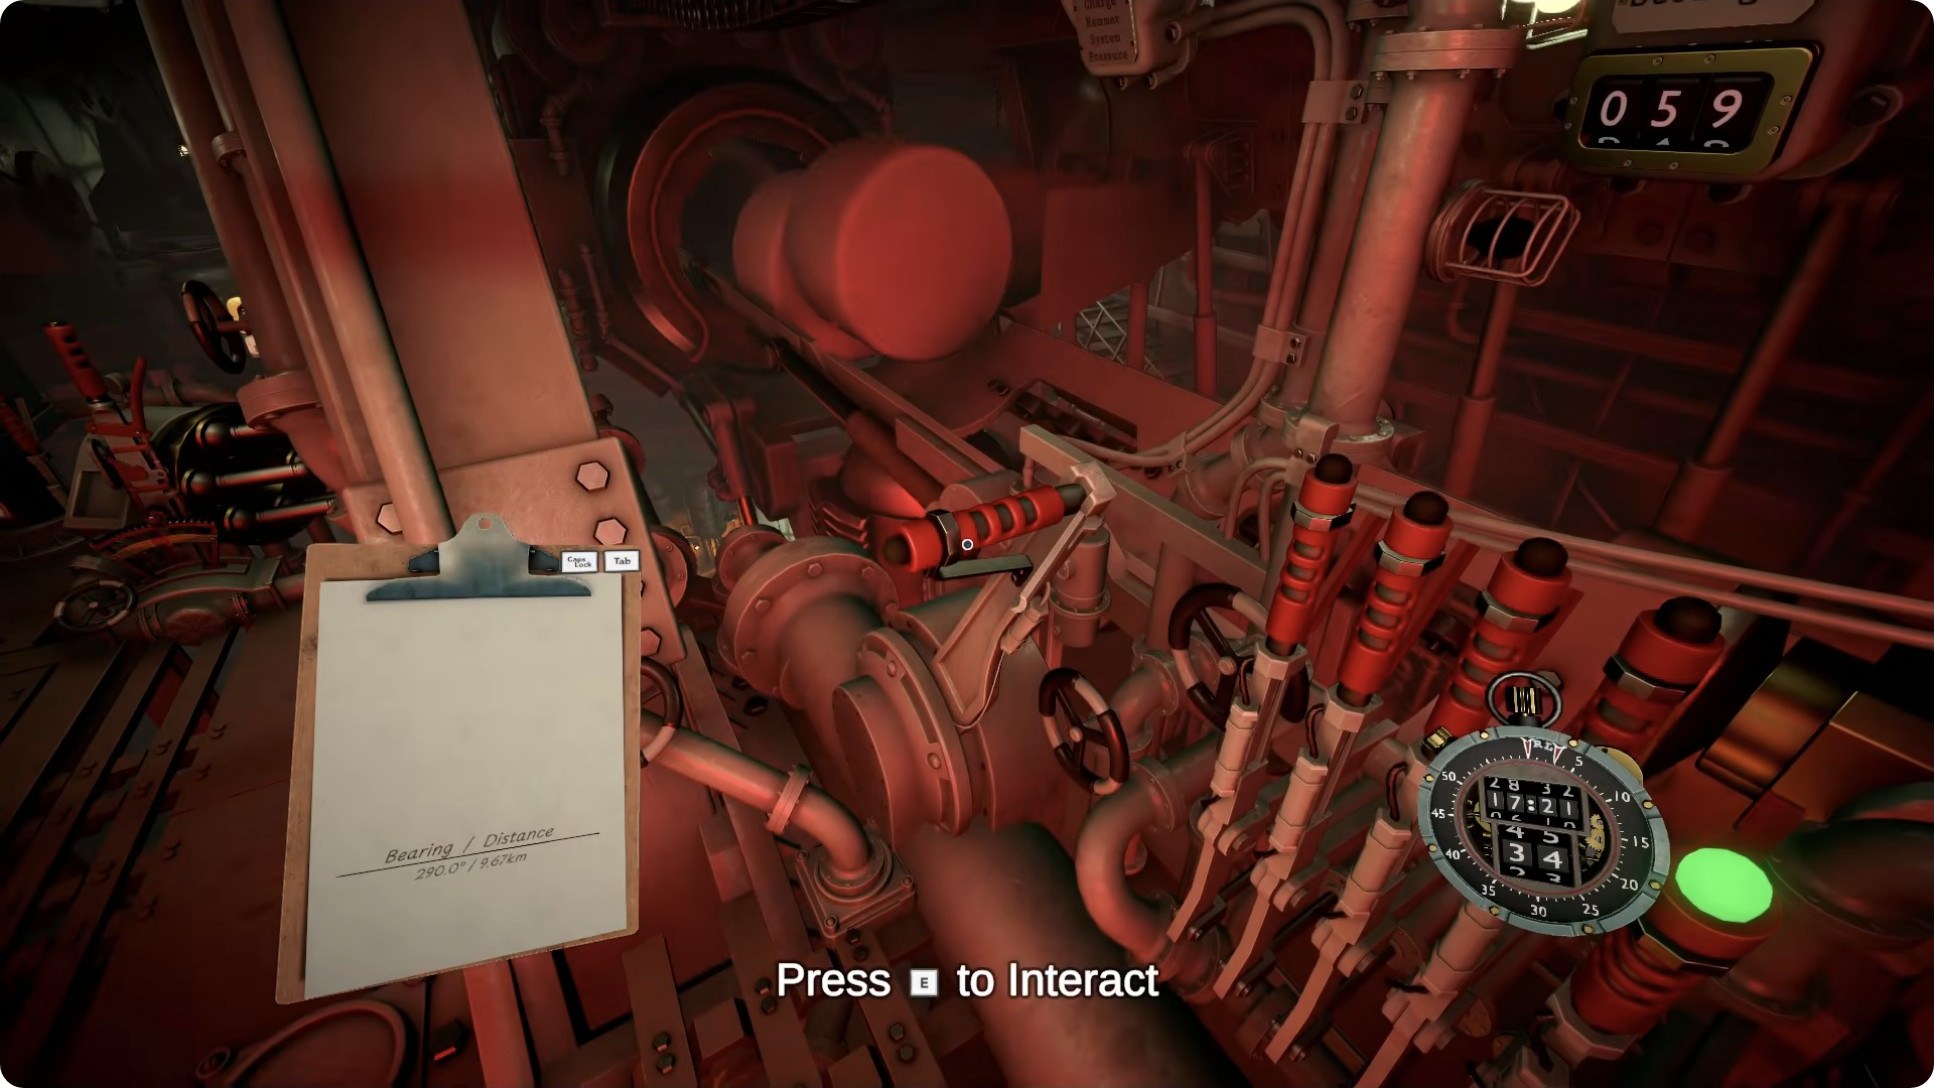
Shell handling and a red HUD countdown mid-mission. Frame from a public YouTube full-run video (uploaded August 11, 2026, pre-Patch #4).
Why your solutions stop working after you move
Evidence: REPORTED (one guide's checklist, behavior-matched in post-patch footage)
Phantom Battery is the first mission where both ends of the firing line can change. The strongest structural advice in the reviewed sources is a keep/discard discipline after any move — yours or the battery's:
Why your solutions stop working after you move
After Iron Nest moves
After the battery moves or fires
Discard:
old turret bearing · range · charge selection · elevation · the red firing line — all of it was computed from an origin that no longer exists
the old battery marker as an aim point — treat it as history only
Keep:
fixed listening-post markers · known spotter positions
your own position (unless you moved) · the listening-post network
Rebuild:
your own position, then the full solution
fresh bearings from new reports, then a new solution
REPORTED caveat: the discard list itself comes from a single pre-patch guide (August 8, 2026); the post-patch tutorial matches it in behavior — always re-solving position and gunnery after every move — but never states the list as a rule.
Enemy fire lines converging on your position — the pressure the timer represents. Frame from a public YouTube full-run video (uploaded August 11, 2026, pre-Patch #4).
The battery is mobile — do not trust yesterday's marker
Evidence: IN-GAME TEXT · OBSERVED · REPORTED
This is the mission's core twist. The comm feed tracks the enemy through its own words: "Unidentified Battery… Reclassifying enemy: single unit · multiple guns · mobile · heavily armoured. Designate: Enemy Iron Nest." After hits: "ENEMY IRON NEST HIT. STILL MOBILE, REPOSITIONING." and "DIRECT HIT CONFIRMED. WAIT, IT'S MOVING! HOLD FOR REASSESSMENT."
Practical consequences:
A well-built AP shot that misses is not automatically a math error — first ask whether the target was still at the marker when you fired. If the latest message says repositioning, stop aiming at the old point.
The battery tends to stay near its previous area after moving (OBSERVED, post-patch tutorial: "probably very close to where he was before"), so shift report requests to nearby grids rather than restarting the hunt from zero.
Reports may return a spotter instead of the battery — around a dozen spotters can be in the sector (REPORTED, single video) — move the report window, don't reinterpret the battery marker.
IN-GAME TEXT: armor is the other half of the twist — "SHOT INEFFECTIVE. ARMOUR HELD. REQUIRES ARMOUR-PIERCING." Non-AP fire confirms the position but will not finish the target.
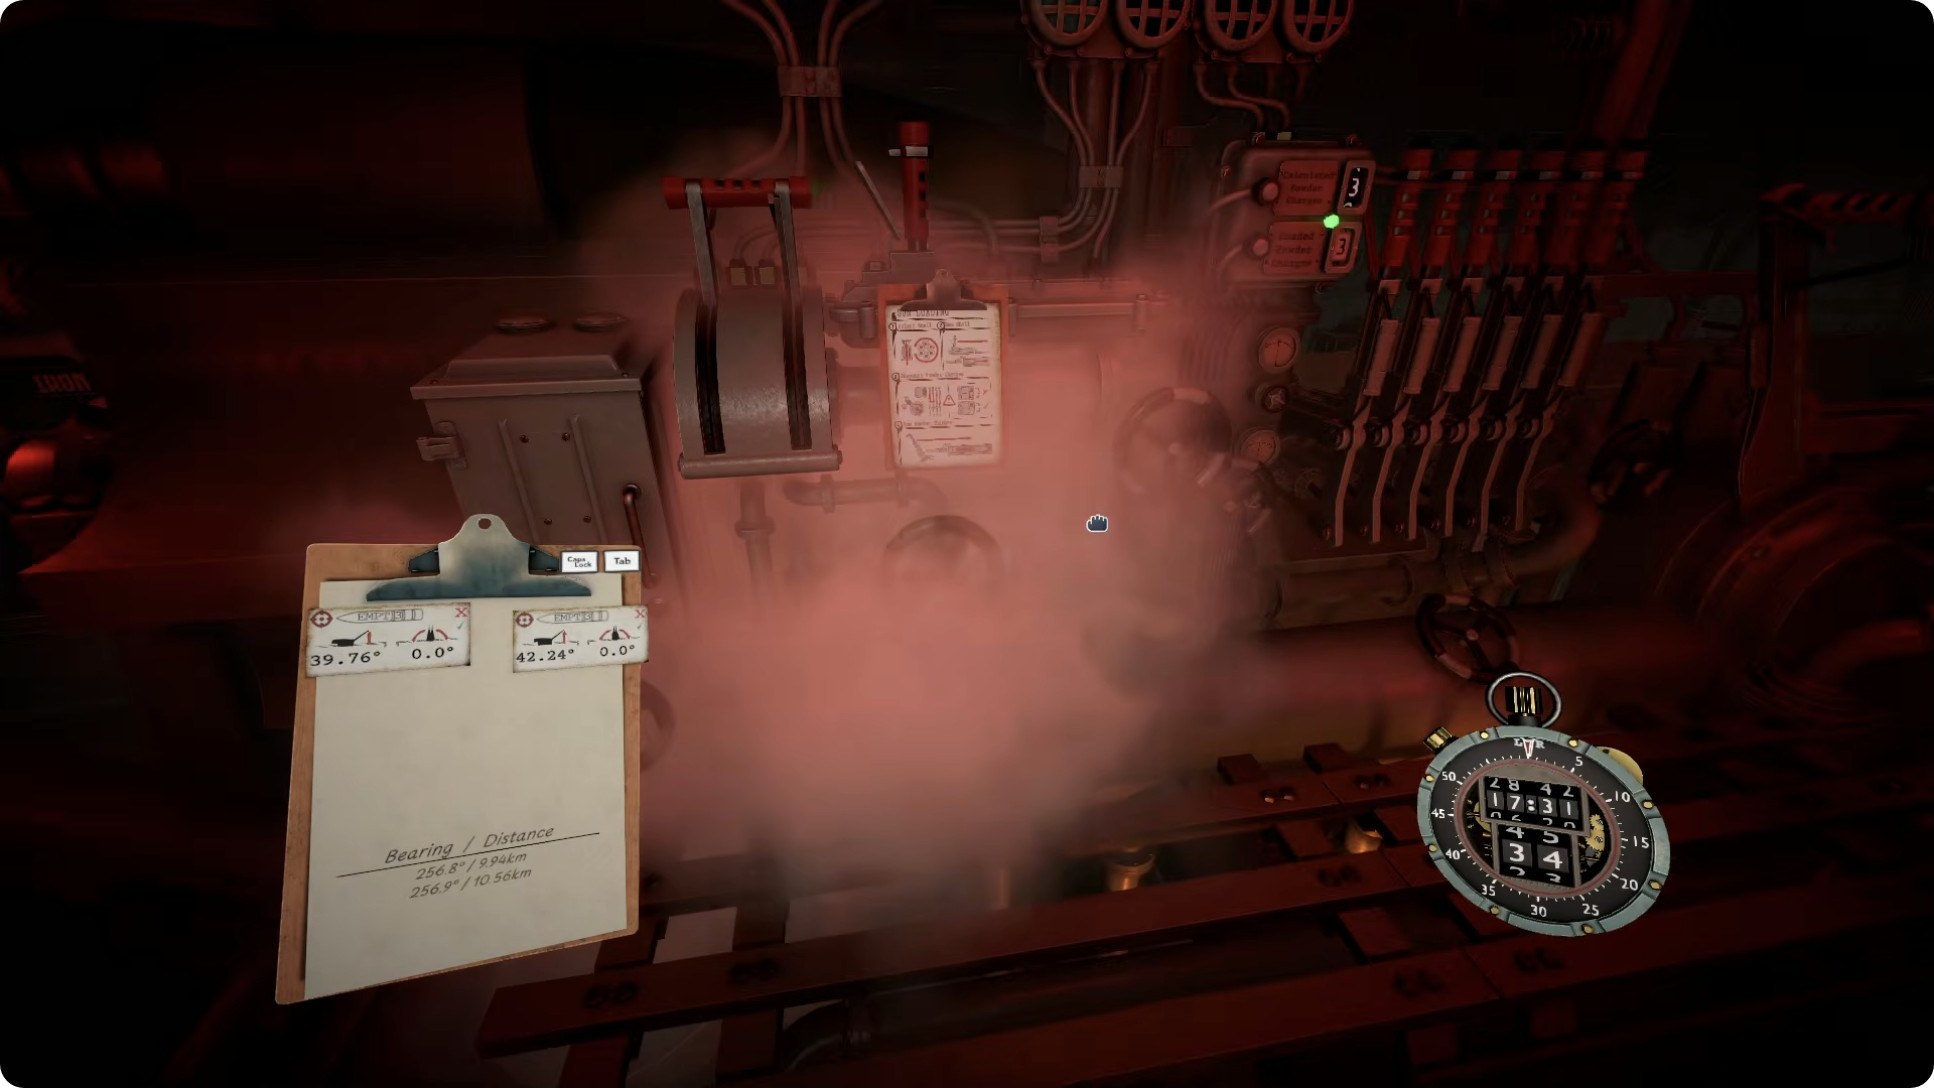
Mid-engagement: smoke over the turret room and fresh contacts on the spotting board. Frame from a public YouTube full-run video (uploaded August 11, 2026, pre-Patch #4).
Patch and version notes
Evidence: OFFICIAL wording · REPORTED community reports
The developer has not said what the balancing change was. This guide does not attribute any specific mechanic to Patch #4. What the public record does show: players in the official Discord were calling the mission brutal before the patch, and reports dated after August 12 (including a video comment from the same week: "literally do not understand this mission") describe a mission that is still extremely hard. Balanced ≠ easy.
The two full-run videos behind this page's screenshots predate or straddle the patch (uploaded August 11 and August 12, 2026; builds not shown); the narrated tutorial was uploaded August 14, 2026. Use the walkthrough loop above as version-stable, and treat exact UI details as dated.
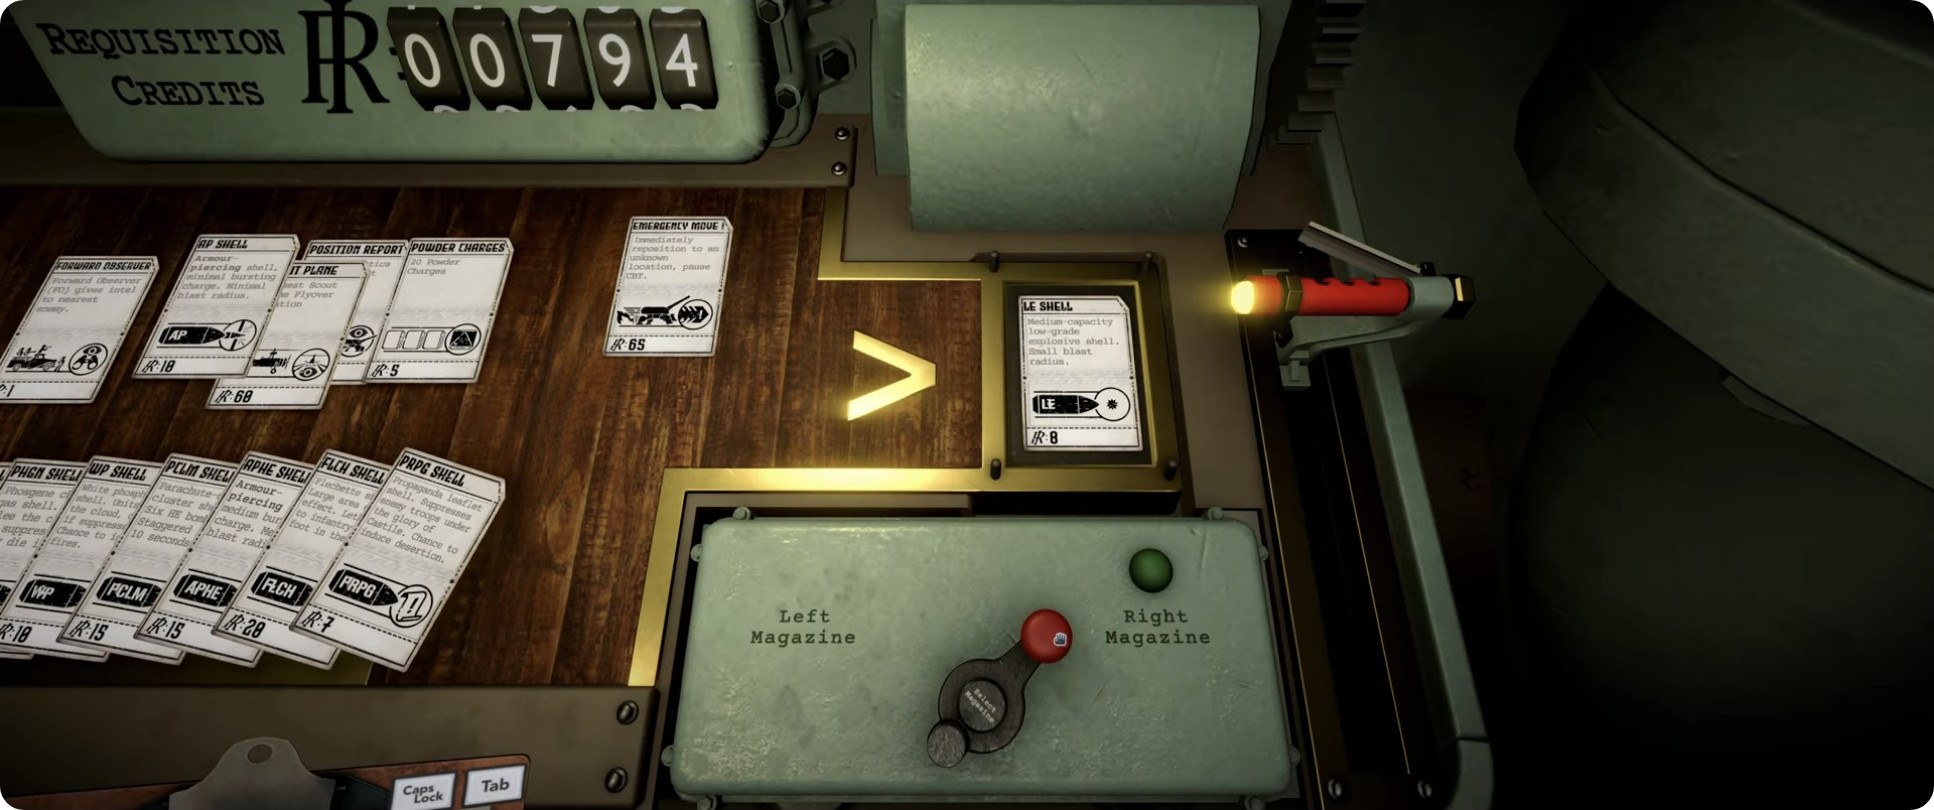
Mid-mission requisition upgrades exist: footage shows an in-mission upgrade panel with Left Magazine / Right Magazine capacity choices and perk cards (OBSERVED, frame from a video uploaded August 12, 2026, build not shown).
The in-mission upgrade screen. Frame from a public YouTube video (uploaded August 12, 2026; build not shown).
Medals (REPORTED, database values; build unknown)
Medals (REPORTED, database values; build unknown)
Medal
Gold threshold
Unaided Fire Distinction
no aerial recon used (≤ 0) and kills > 18
No Quarter Cross
enemy kills ≥ 9
Marksman's Cross
average impact distance from nearest target ≤ 0.3
Counter-Battery Commendation
counter-battery time remaining ≥ 260
What winning looks like: the False Fortress falls
Evidence: OBSERVED · same end frame in two independent videos
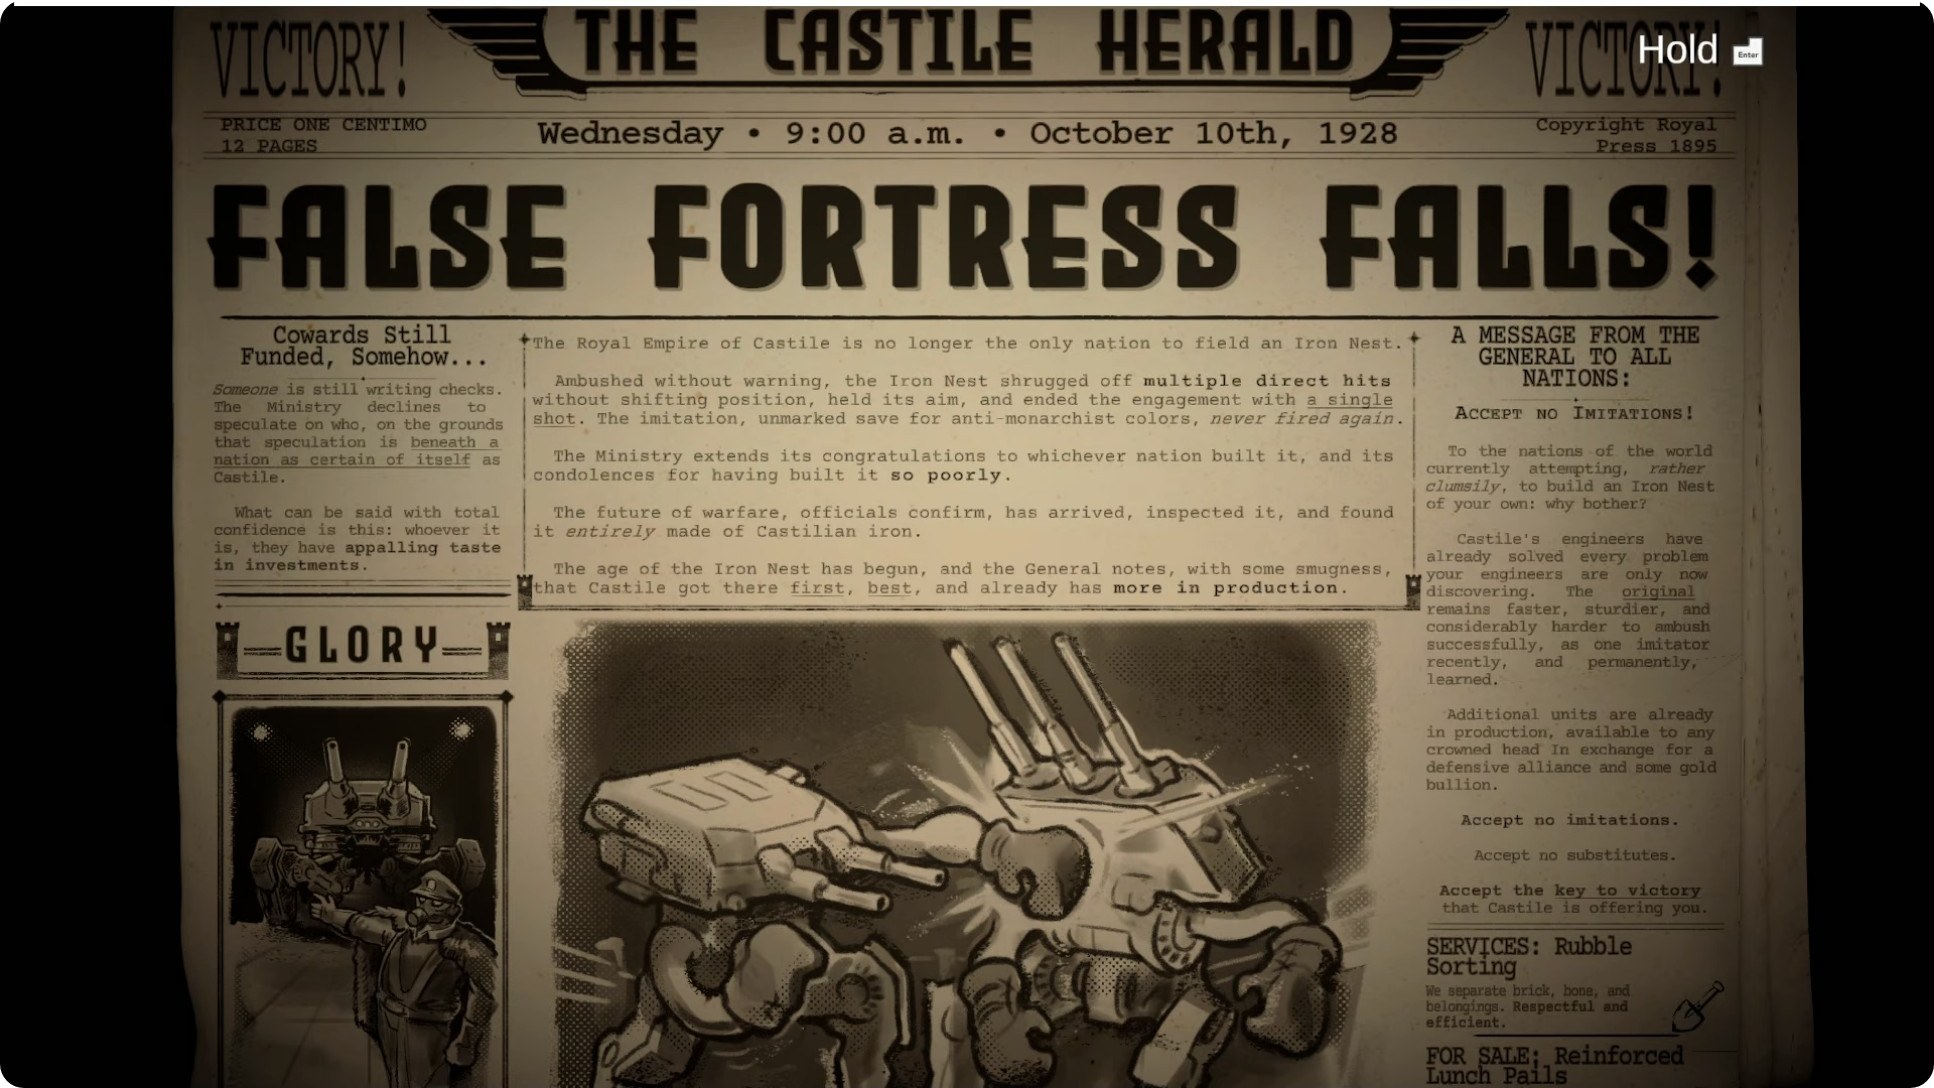
Both full-run videos reviewed for this guide end on the same victory newspaper — The Castile Herald, Wednesday, October 10th, 1928, under the headline "FALSE FORTRESS FALLS!": the Royal Empire of Castile announces that an unmarked imitator Iron Nest ambushed without warning, that Castile's Iron Nest "shrugged off multiple direct hits without shifting position, held its aim, and ended the engagement with a single shot," and that the Ministry "extends its congratulations to whichever nation built it, and its condolences for having built it so poorly." A message from the General closes the page: "Accept no imitations!"
The mirror-match framing is the whole mission in one image — the enemy you hunt is a counterfeit of your own gun, which is also why the related achievement is named Mirror Image (achievement name confirmed on the official platform; its binding to this mission is REPORTED by guides).
The mission-end newspaper, identical in two independently uploaded full-run videos. Frame from a public YouTube video (uploaded August 11, 2026).
FAQ
What mission is Phantom Battery in Iron Nest?
Mission 13 of the campaign (cross-confirmed by two guides and a mission database; the game's own materials use operation names rather than a fixed public numbering). Mission 7 is The Gorge, a different mission.
Did the Phantom Battery difficulty change?
Patch #4 (Version 1.0 (1618), August 12, 2026) says, verbatim, "Improved: Phantom Battery mission balancing." The developer did not say what changed, and community reports after the patch still describe the mission as extremely hard.
Why do my firing solutions stop working after I move?
Because the move invalidates the origin they were computed from — and the battery can move too. Discard bearing, range, charges, elevation, and the firing line after every relocation; see the rules table.
Where is the Phantom Battery located?
There is no fixed answer: it repositions. One post-patch tutorial observes it "usually" appears around grid F4 and can sit 15+ km out (REPORTED, single video, not a guarantee) — use listening-post bearings and fresh reports, not memorized coordinates.
Do I have to restart the engine?
The mission's own orders say yes ("Start the engines and reposition immediately!"). A post-patch video shows movement working without a restart and the uploader suspects a developer oversight; treat the restart as the safe, instructed path.
Do I need armor-piercing shells?
Yes. The in-mission comm states it: "SHOT INEFFECTIVE. ARMOUR HELD. REQUIRES ARMOUR-PIERCING."
What do I unlock from Phantom Battery?
A mission database lists one punchcard unlock — the THRM Shell (REPORTED, build unknown). No material rewards are listed.
Is Phantom Battery Mission 7?
No — Mission 7 is The Gorge. Phantom Battery is Mission 13.
Sources and version notes
Reviewed August 15, 2026. Evidence types and dates are stated beside each claim above.
Official: developer patch note for Version 1.0 (1618) / Patch #4 (August 12, 2026), retrieved from the official Discord; official achievement names on the game's platform store page.
In-game text: briefing and comm wording transcribed by a public mission database (retrieved August 15, 2026; build not stated).
Observed footage: three public YouTube videos — a narrated tutorial (uploaded August 14, 2026) and two no-commentary full runs (uploaded August 11 and August 12, 2026); none display a build number. Screenshots on this page are single frames from those videos, used as research evidence with attribution.
Reported: one pre-patch written guide (updated August 8, 2026) and dated community posts in the official Discord (August 2026).